
Introduction to ExoClick
ExoClick is one of the largest ad networks in the world, serving over 12 billion daily impressions across desktop, mobile, and smart TV traffic. It’s a popular alternative to Google AdSense — especially for websites that fall into gray or entertainment niches that AdSense often rejects.
Founded in 2006, ExoClick supports multiple ad formats including display, native, popunder, in-stream video, push notifications, and direct links.
What makes ExoClick special is its smart targeting technology, fast approval process, and high CPM rates in Tier 1 countries like the US, UK, and Canada.
🧩 Why ExoClick Matters for Publishers
When it comes to monetizing your website beyond Google AdSense, ExoClick stands out as one of the most trusted ad networks for global publishers.
With over 12 billion impressions per day, ExoClick helps you earn revenue through popunder, native, and banner ads — even if your site is new or niche-focused.
💰 Key advantages:
- High CPMs (especially for Tier-1 traffic: US, UK, CA)
- Accepts finance, crypto, and MMO-related content
- Fast approval process
- Multiple payment options (PayPal, Paxum, Wire, Crypto)
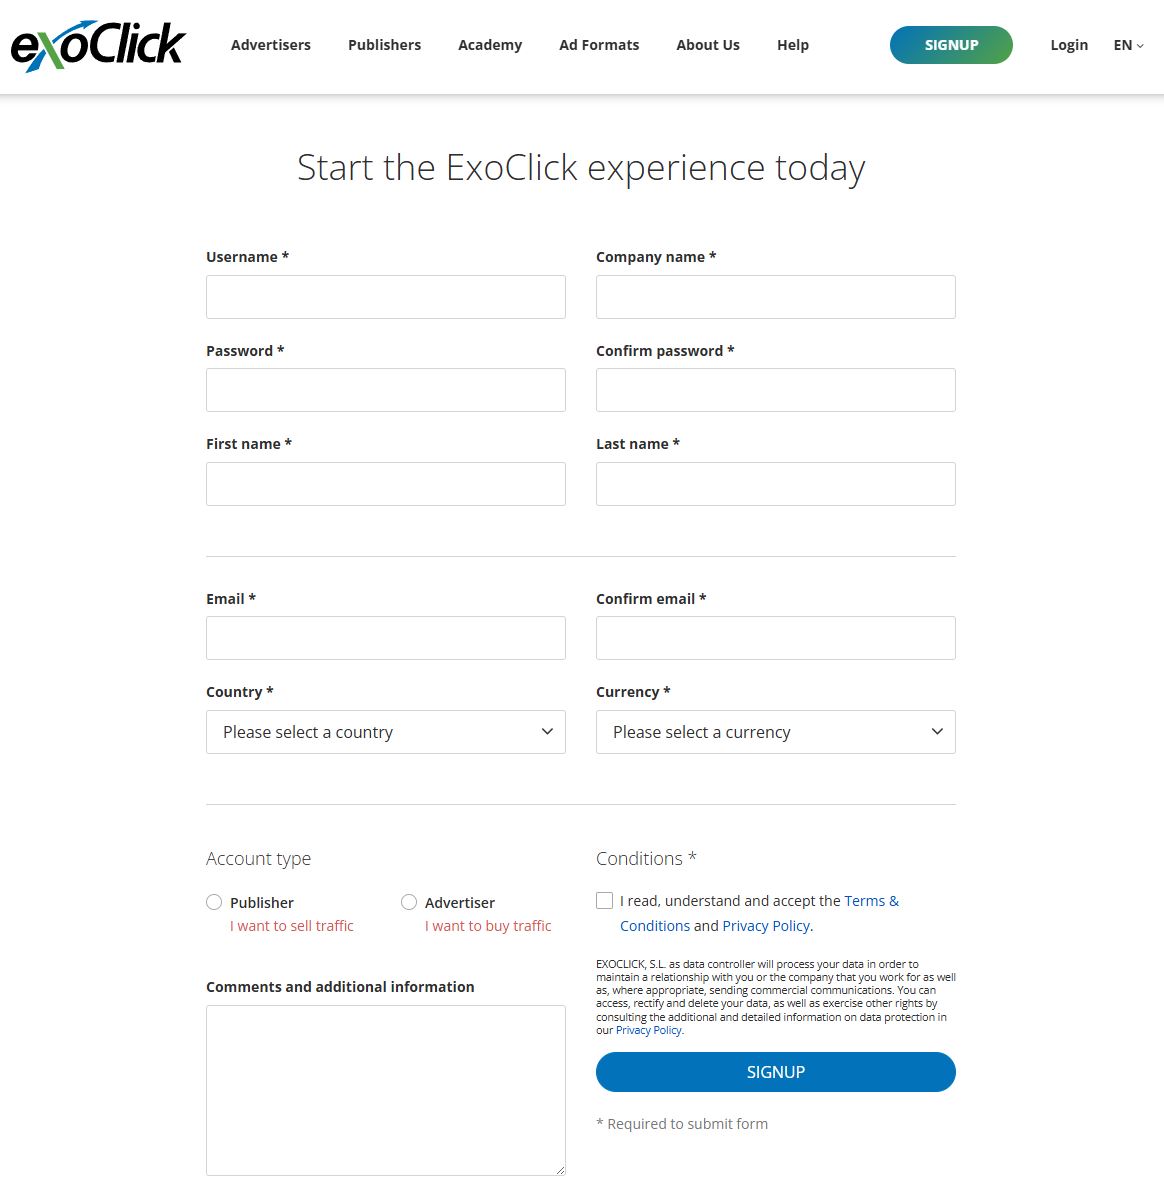
🧭 Step 1: Create Your Publisher Account
1️⃣ Visit https://www.exoclick.com
2️⃣ Click Sign Up → Publisher
3️⃣ Fill out:
- Username: e.g.
sinhmmo - Email: your Gmail for verification
- Password: choose a secure one
4️⃣ Confirm via the verification link sent to your email
🔐 Tip: Enable Two-Factor Authentication (2FA) under Account Settings → Security to protect your earnings.
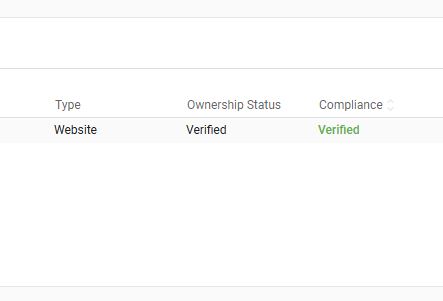
🌐 Step 2: Add Your Website
Once logged in, navigate to Sites & Zones → Sites → Add Site
Fill out:
- e.g: Site name: SINHMMO
- e.g: Domain: sinhmmo.com
- Category: Finance / Business / Technology
- Description: “MMO and crypto blog sharing income tutorials and airdrop guides.”
- Adult content: No
Then click Save
Approval usually takes 12–24 hours.
You can still create ad zones while waiting.
🎯 Step 3: Create Ad Zones
After your site is approved, go to “Add New Zone” and select the ad format.
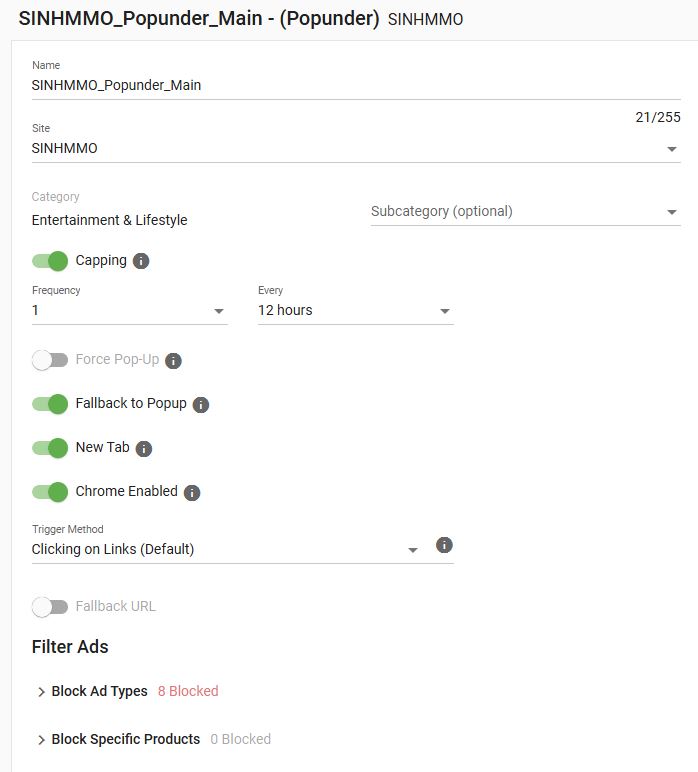
💥 1. Popunder Ads (High Revenue)
This format generates the highest CPM.
| Setting | Recommended Value |
|---|---|
| e.g Name | SINHMMO_Popunder_Main |
| Capping | 1 every 12h |
| Force Pop-Up | Off |
| Fallback to Popup | On |
| New Tab | On |
| Chrome Enabled | On |
| Trigger Method | Onclick (default) |
Ad Filtering:
Block these categories:
Explicit, Adult, Misleading, Exit JS, Back Button Offers, and flagged URLs
Once saved, ExoClick provides a <script> code to insert into your site.
🧱 2. Native Ads (Recommended for Clean Layouts)
If you want AdSense-friendly visuals:
- Choose Ad Format → Native
- Style: In-Article or Recommended Content
- Block adult content
- Paste the code into your blog post or footer
Native ads integrate seamlessly and boost CTR without hurting UX.
🧰 Step 4: Install Ads on WordPress
Option 1: Using a Plugin
Install “Insert Headers and Footers by WPBeginner”
→ Paste the ad script in Footer scripts section.
Option 2: Theme Settings (JNews Example)
Go to Ads → After Content / Before Content
→ Paste your native ad code there.
Option 3: Manual Method
Edit footer.php in your WordPress theme
→ Paste code before </body>
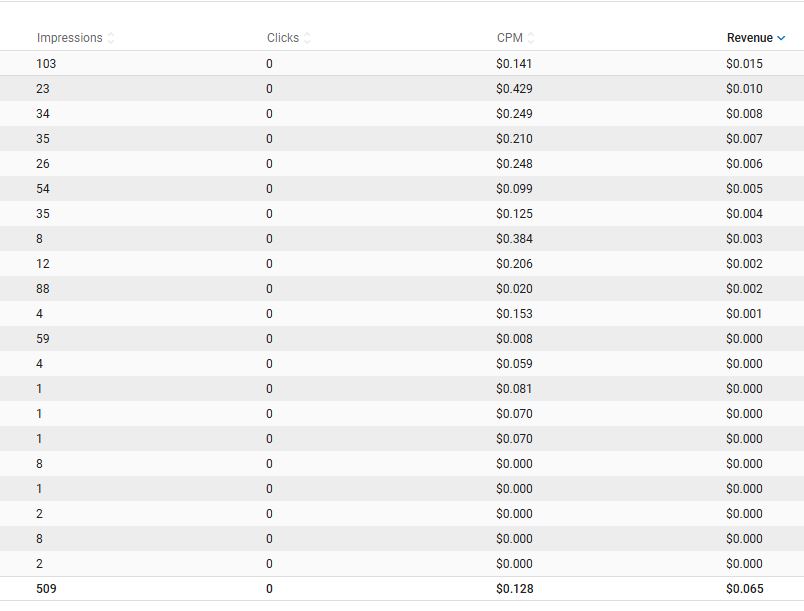
📊 Step 5: Track Performance
Go to Statistics → Zones to monitor:
- Impressions
- Revenue / eCPM
- CTR
Optimization Tips:
| Tip | Impact |
|---|---|
| Add native ads within articles | +20–30% revenue |
| Focus on Tier-1 traffic | +400–600% CPM |
| Limit popunder to 1 per 12 hours | Lower bounce rate |
| Combine ExoClick + AdSense | Diversify income sources |
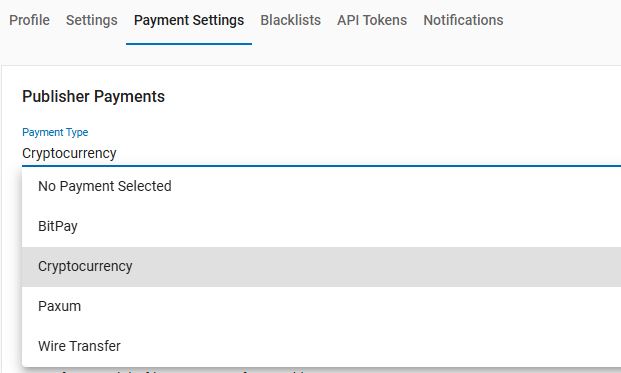
💵 Step 6: Set Up Payments
Navigate to Dashboard → Payments → Payment Settings
Minimum payout:
- PayPal/Paxum: $20
- Wire: $200
Schedule:
- Default: Net30
- Upgrade: Net7 (after $2000+ revenue)
Available methods:
- PayPal
- Paxum
- Wire Transfer
- Bitcoin / USDT (Crypto)
⚙️ Step 7: Advanced Optimization
✅ Use Click-Based Popunder
Trigger popunder only after user clicks, not on page load.
→ Keeps user experience positive and compliant with AdSense.
✅ Experiment with Native Placement
Try placing native ads:
- After 2nd paragraph
- End of articles
- Sidebar recommendations
✅ Combine Networks
Use ExoClick for popunder or native + AdSense for banner ads.
This hybrid approach gives higher overall RPM without risking a ban.
🧠 Step 8: Common Mistakes to Avoid
| Mistake | Why It Hurts |
|---|---|
| Enabling adult content | Violates AdSense, damages SEO |
| Showing popups on load | Causes high bounce & low trust |
| Too many ad units | Slows site speed |
| Ignoring Tier-1 traffic | Drastically lowers CPM |
🚀 Step 9: Smart Strategies to Boost Earnings
- Focus on mobile traffic → ExoClick has mobile-optimized ads with 25% higher CPM.
- Localize your content → English content = better advertisers.
- Seasonal campaigns → CPMs rise in Q4 (Oct–Dec).
- Test zone sizes → 300×250 and 728×90 perform best for native.
- Analyze weekly → Disable underperforming ad zones.
🔒 Step 10: Stay AdSense-Safe
Even though ExoClick allows adult ads, you can fully run it safely alongside AdSense by:
- Filtering all adult/adult-themed ads.
- Using popunder triggers on user interaction.
- Keeping ad density under Google’s recommended 30%.
✅ As long as your ads are non-intrusive and contextually clean, Google AdSense will not penalize your site.
🧾 Conclusion
ExoClick Ad Network (2025) gives publishers a solid alternative to AdSense — ideal for blogs in finance, crypto, or entertainment niches.
When configured properly, it delivers consistent, high-CPM traffic monetization without violating Google’s rules.
Combine smart placements + clean content + analytics tracking → and you’ll see your ad revenue grow month after month.
📚 Quick Summary
| Step | Task | Goal |
|---|---|---|
| 1 | Sign up | Create your account |
| 2 | Add site | Get approved |
| 3 | Create ad zones | Choose popunder/native |
| 4 | Install ads | WordPress integration |
| 5 | Track results | Monitor CPM & CTR |
| 6 | Optimize | Boost performance |
| 7 | Get paid | Withdraw via PayPal or crypto |
Join exoclick: https://www.exoclick.com

hây