Hey guys, today I’m going to show you how to maximize your EarnApp income by optimizing your setup for passive earnings.
If you’re new and don’t know what EarnApp is, check out my full review here:
👉 Earnapp
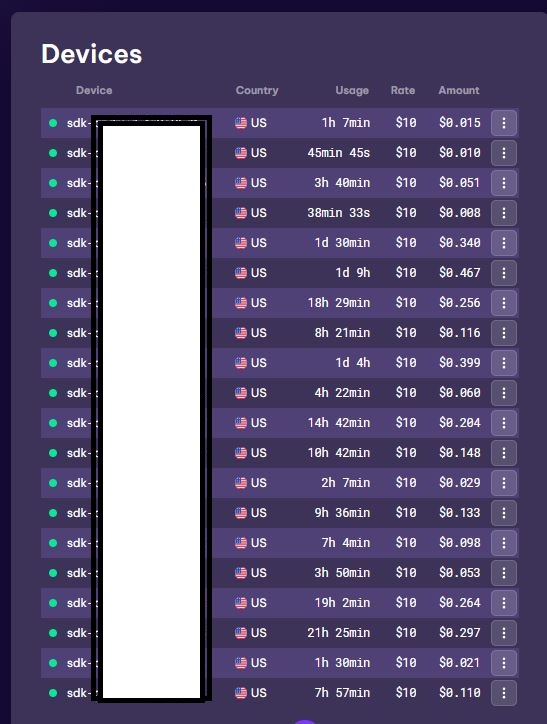
EarnApp is a simple passive income app that pays you for sharing your unused internet bandwidth. Just install it, keep it running in the background, and start earning automatically.
Inside the guide, I’ll also walk you through how to sign up and set everything up step by step so you can start making money right away.
Before we start optimizing EarnApp, you’ll need to set up a few essential tools: VMware, Win iso, Proxifier, and residential proxies.
1. Install VMware
First, download VMware using the link below:
👉 Download VMware
After downloading, simply follow the installation guide below to set it up correctly.
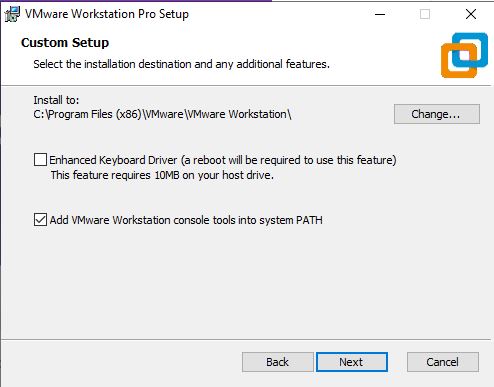
After downloading, extract the file and launch the installer. Then follow the setup steps and click “Next” until the installation is complete.
Step 1
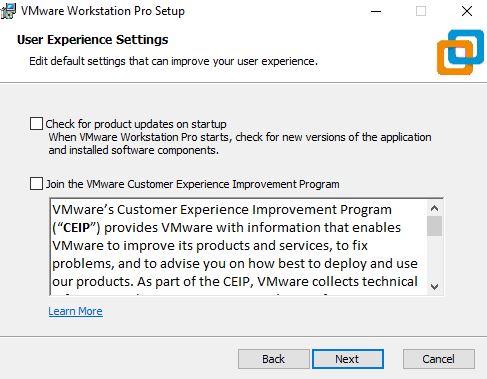
Step 2
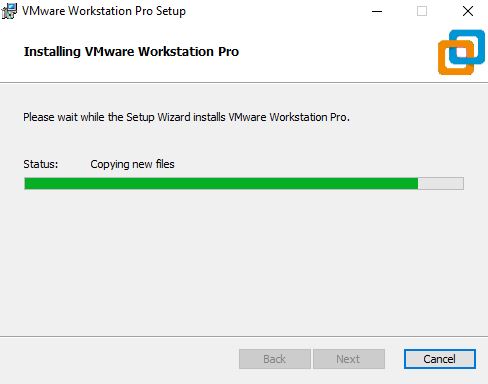
Step 3
Step 4
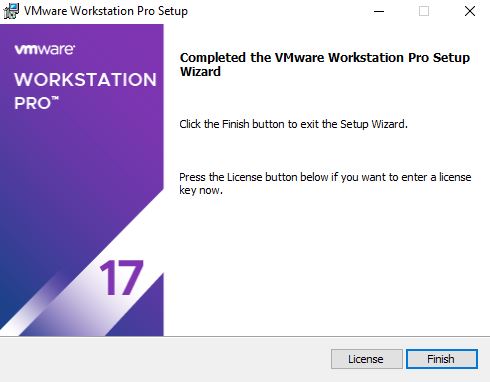
Once the installation is complete, open the “License” section and enter the license key included in the file you downloaded earlier.
Then click “Finish” to complete the setup.
2. Install Proxifier
Now, download Proxifier and install it on your computer. Download Proxifier
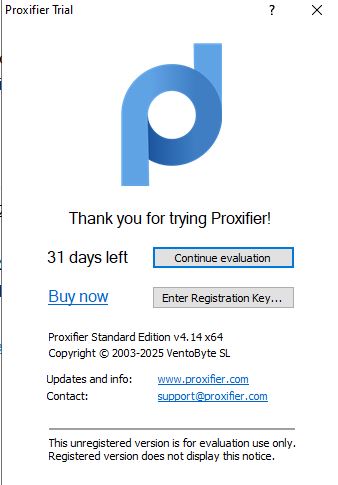
After installing Proxifier, open the app and click on “Enter Registration.” Then paste the license key to activate and start using the software.
You can get the Proxifier key here:
👉 Key Proxifier

3. Creating a virtual machine in VMware
Alright, now that all the necessary tools are installed, let’s move on to the next step—creating a virtual machine in VMware.
Step 1
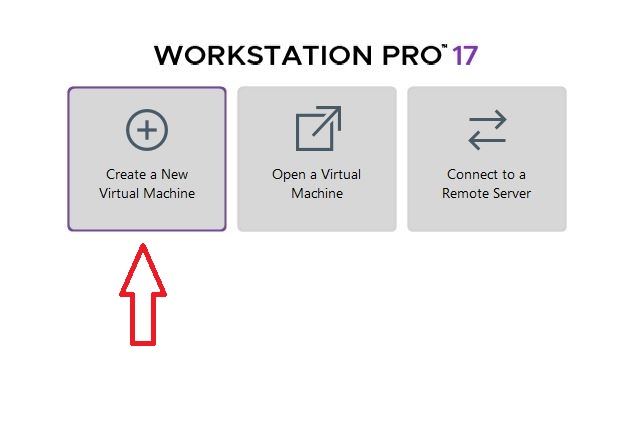
Start by opening VMware, then click on “Create a New Virtual Machine” to begin setting up your virtual machine.
Step 2
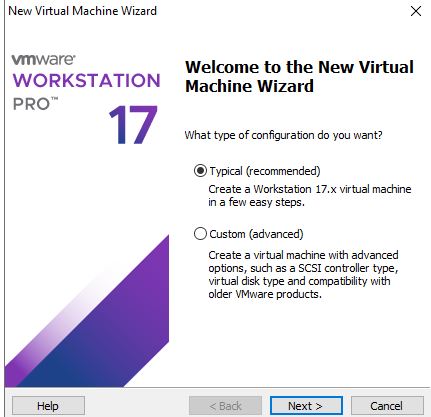
Click Next
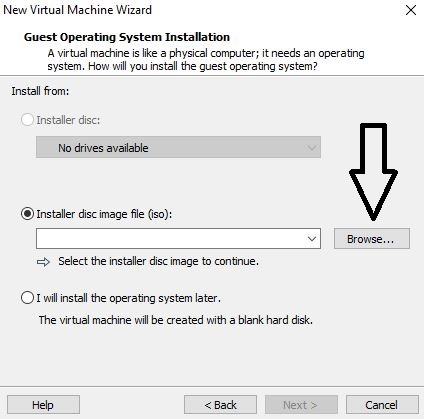
Next, click “Browse” and locate the Windows ISO file on your computer. Select the file to continue the setup process.
If you haven’t downloaded it yet, get the Windows ISO here:
👉 Download Win iso
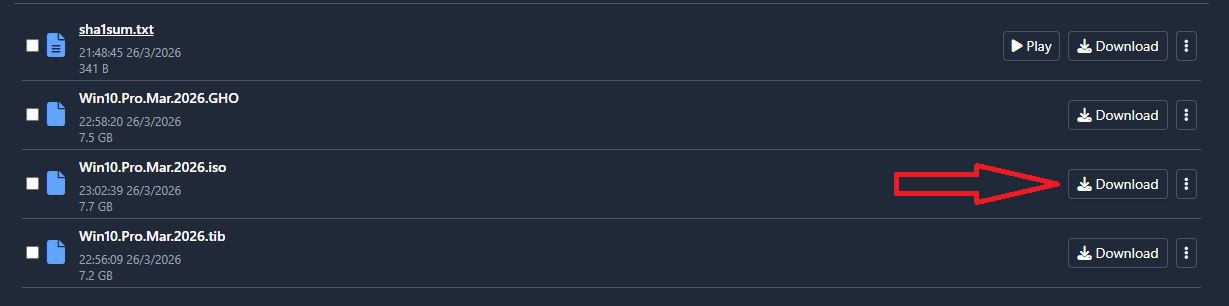
Step 3
Once the Windows ISO is downloaded, the next step is to install Windows on your virtual machine and complete the setup.
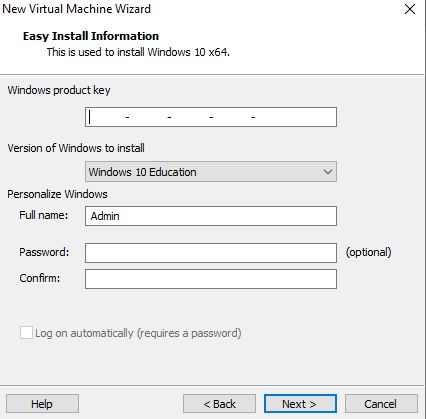
Click next
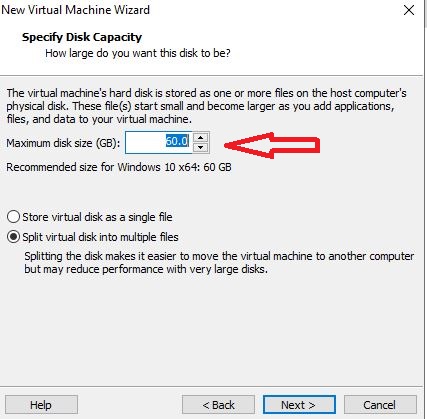
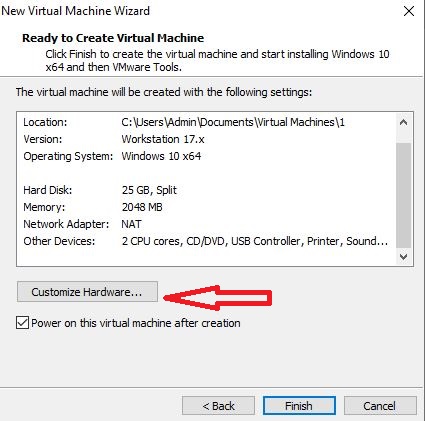
Here, you’ll need to allocate disk space for your virtual machine. For EarnApp usage, 20–25 GB is more than enough to run smoothly.
After that, click “Next,” then choose “Customize Hardware” to adjust your virtual machine settings.
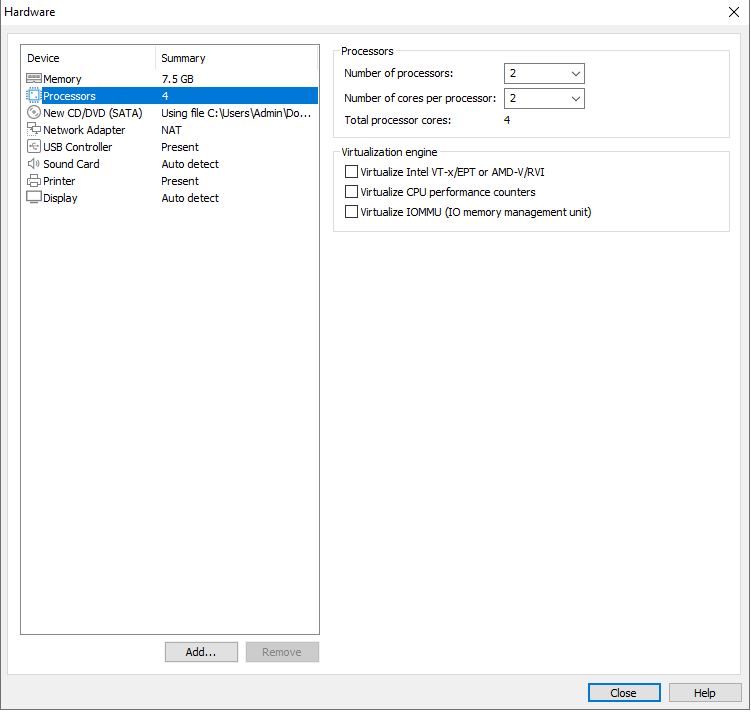
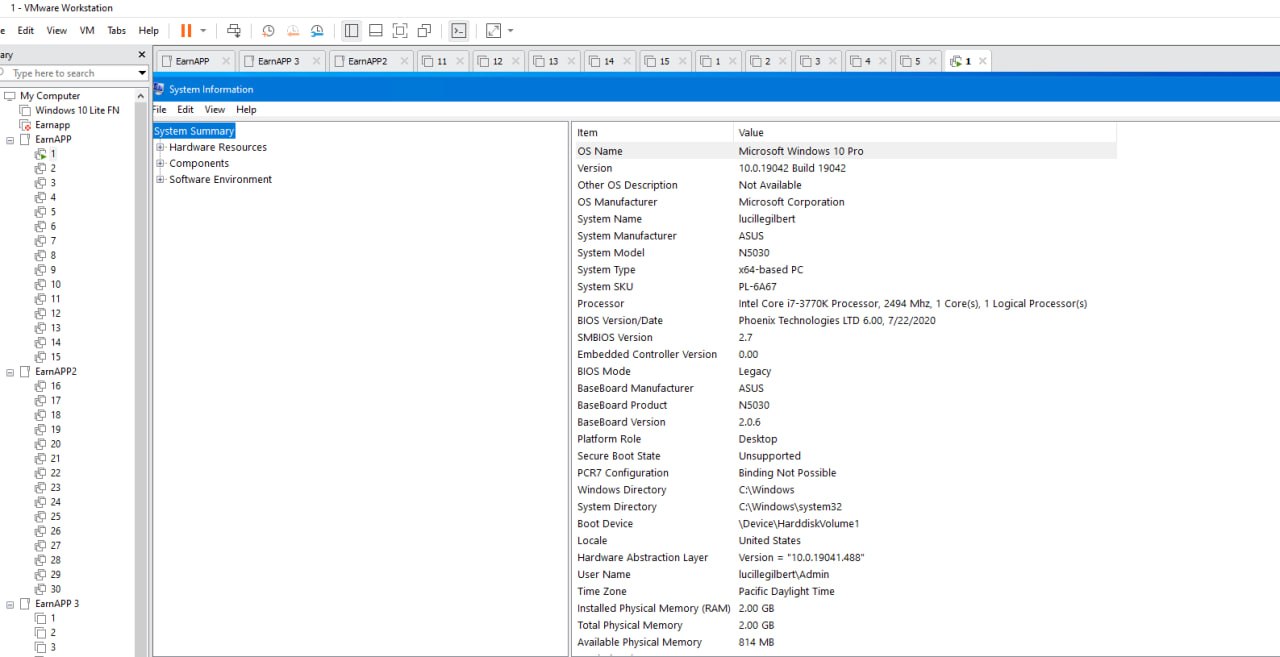
Now, adjust the hardware settings to match the configuration shown in the image below for optimal performance.
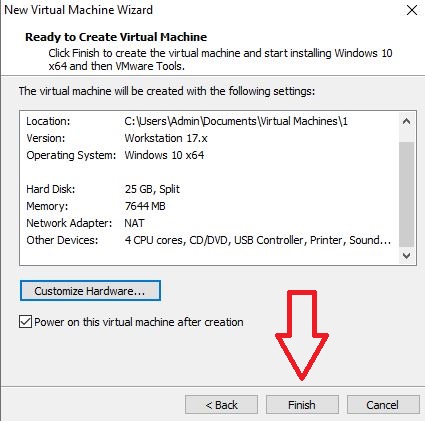
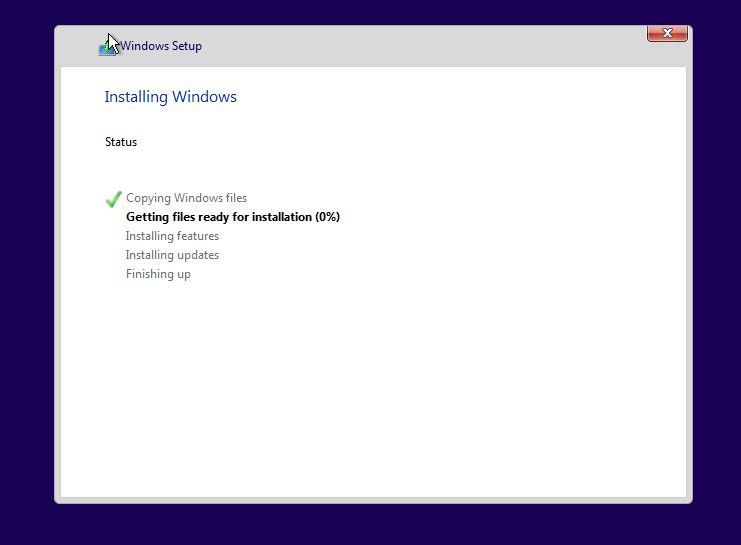
Once everything is set, click “Finish” and continue installing Windows on the virtual machine just like you would on a normal computer.
4. Maximize EarnApp Profits with Smart Tools
Once Windows is fully installed, it’s time to start running EarnApp. For this part, please contact Telegram @FamilyMMO_Admin via @FamilyMMO_Admin below for a complete step-by-step walkthrough.
If you run into any issues, don’t hesitate to leave a comment on this article or join our Telegram group for support:
👉 Group Telegram
Disclaimer: This article is for informational purposes only and does not constitute financial advice.
Always conduct your own research before making any financial decisions.
Past results mentioned in this article do not guarantee future outcomes.
Stay ahead with trusted online income insights — follow us for proven strategies that work.


Good, thanks ad